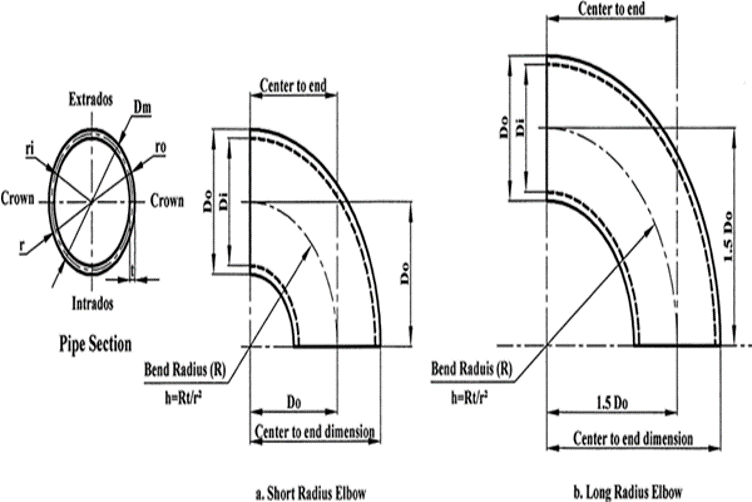
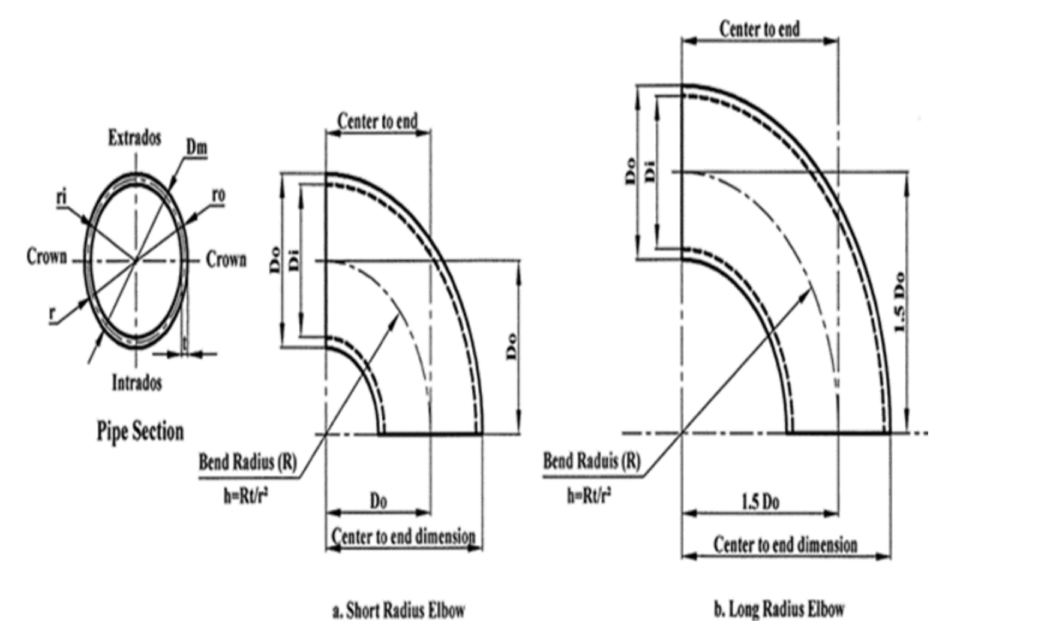
The minimum radius of bending can be defined as the minimum possible radius of bending of the material before any plastic deformations occur. The radius depends on the material type and thickness along with other parameters that influence this value. When a sheet material is to be bent, the minimum radius of bending becomes a significant, determinant factor.
Upsetting and stretching reduce the quality of the workpiece. To solve this problem, a minimum radius for bending operations is determined. When this minimum value is exceeded, cracks will occur on the material. Moreover, failure to comply with specified minimum values may lead to a complete breaking of the produced part. Damaged parts must be scrapped which is a waste of all the effort spent on that specific workpiece.
When the workpiece is bent, fibers on the outside (red) or the outer curved parts are stretched. Fibers on the inside (blue) or inner part of the setting is spun down. The neutral line is the line between the outside and inside, indicated as green in the figure below. The workpiece is neither strained nor stretched at this place.
The radius which is measured after bending operation is called the inner radius. At the bending site, the strength of the material drastically decreases. It is crucial to determine the minimum radius of bending because when this number is exceeded, the workpiece may break or tear. Following rules apply in general:
- As the radius of bending increases, the probability of breaking decreases and strength loss becomes smaller.
- As the radius of bending decreases, the necessity for a decrease in the thickness of the material increases.
Determination of The Minimum Radius of Bending

Several factors determinant regarding the value of the minimum radius of bending are:
- Thickness of plate
- Strength of material
- Type of material
- Direction of rolling
- Bending rate
- The tools utilized
- The machines used
- The bending method applied
Furthermore, conversion factors differ in each type of material and they must be formed according to those factors. In the case of aluminum, sheet thickness has to be multiplied by 2 in order to determine the minimum radius of bending. When the material to be processed is copper, the multiplication factor 1.5 is used. In steels, this conversion factor becomes 1 times the thickness of the sheet. It means that the minimum radius of bending is equal to the thickness of the plate when steel material is used.
Note: The factor of conversion is differing according to the thickness of the sheet and the type of material. The conversion factor of a Hardox 400 Steel plate having a thickness of 20 mm is 3 while this value in a Hardox 500 Steel is 4.5.
The materials with high strength values tend to have higher hardness values in general. This is the reason why more ductile steels have a greater minimum radius of bending. Necessary tests are performed for determining the real minimum radius of bending values. After these values have been determined, they are tabulated. Authorities are responsible for work planning benefit from the data written on these tables.
Rolling Direction Influence on Minimum Radius of Bending
The direction of rolling has a huge effect on the minimum radius of bending. A directional microstructural grain pattern is obtained after the cold rolling process. Grains are stretched in the direction of rolling. A bending force applied parallel to the stretching direction of grains is a problematic situation. This situation inevitably leads to cracking. Thus, the minimum radius of bending must be greater. It would be more ideal to apply a bending force perpendicular to the stretching direction of grains. In this case, a smaller minimum radius of bending causes no problem.
Bending Radius and Set Radius
We possess 6 press brakes. Their seat length is between 1590-7200 mm. By utilizing radius tools, we can give an inner radius for these press brakes very accurately. In bending operations of steels having high hardness values like Hardox steel, radius stamps tools are frequently used. When the radius is very small, such hard materials can be cracked.
We use our radius stamps to ensure that optimal bending is obtained according to different types of materials. Quality of material is not compromised while bending.
The minimum radius of bending has to be known before a value of radius is given to the workpiece. Each type of plate thickness and material has a different minimum radius of bending. In both structural and visual sense, previously determined radius values are required for many practices. Inner radii with tolerances of 0.5 mm can be achieved thanks to our advanced radius tools. Radius with very large value can be installed as well in multiple steps.
Bouncing Back of The Workpiece
After bending, steel will surely bounce back to some extent. For achieving the desired radius of bending, steel has to be bent more sharply. When released, steel will find the desired angle. This phenomenon must be taken into account in bending operations to meet the dimensional requirements.
Compensation of the bouncing back effect is possible with modern, advanced CNC press brakes. The importance of it increases when high precision is required on the minimum radius of bending. Due to the fact that the material will slightly bounce back, the actual bending radius must exceed the theoretical one. This is the main reason for the actual minimum radius of bending being greater than the theoretical radius.
You May Be Interested:


